Deploying Code on AWS Lambda using GitHub and AWS Cloud9
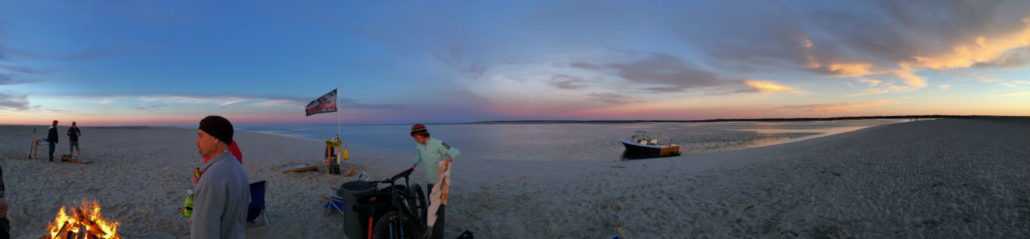
I spend a fair bit of time on the water during the summer time around Cape Cod. Low tide is my family’s favorite time to be at the beach because the long sand flats are exposed and pristine beach sand is revealed. It’s lovely. To get to the beach at the right time, I need to know when the low tides are for a given day so we can plan to get the a good spot before everyone else does. I’ve used printed tide charts online, but that takes time to look up. What I needed was an Alexa skill to give me the tides for my favorite beaches. But there wasn’t one available for my region. So I made one called Cape Cod Tides.
I found an Alexa skill called Tide-Pooler on Github which had already worked out how to probe the NOAA API and get tides for major US harbors. I took this great code adapted it for my favorite harbors around Cape Cod, modified the code and slimmed down the data retrieved from NOAA and re-deployed it as my own toy. Now I can say “Alexa, give me the tides for Plymouth on Saturday” and it responds with the high and low tides of the day.
I suspect that there are many people on Cape Cod and around the area that will find this Alexa Skill to be useful enough to enable it in the Alexa Skills store so I plan to tidy it up a bit with support for a few more harbors and get it ready for placement sharing.
This is a quick story of my evolution to date of coding a Serverless application using AWS Lambda and how I went from n00b to 733t in 3 passes.
First Pass
My new Alexa skill needed a Lambda function written in Node.js to handle the Alexa requests. So I was manually copying/pasting my code from Sublime Text to the AWS Lambda console. What a time consuming pain in the butt. I was not doing any source control either. There had to be a better way.
Second Pass
I switched over to the Atom editor which has native GitHub integration with in it. This allowed me begin playing with source control on GitHub. After posting my repo up there and cloning it into my Atom environment, I was able to commit and push changes right from within Atom. Source control solved! But the nagging issue remained, how to expediently deploy my updates to Lambda?
Should I use AWS CodeStar, a custom CI/CD toolchain or other tooling to help stream line the workflow from coding to deployment in Lambda? So many options! Do I really need to explore all of the offerings out there to make it easier for me to update an Alexa skill that allows me to be a bit lazier? YES!
During exploring this issue, looking to solve this problem of efficient code deployment to Lambda, AWS held their annual Re:Invent conference during which they revealed the solution to me.
Third Pass
AWS to the rescue!! at Re:Invent2017 AWS announced Cloud9, a cloud based IDE that promises to make the lives of Serverless developers a lot easier. I’m not going to get into the details of what makes Cloud9 such a great offering, Werner Vogels and Clare Liguori have already done the introductions (see the video below).
But what I can tell you is that the tool has enabled me to:
- Clone my Github repo into my Cloud9 developer environment.
- Import my existing Lambda code for my Alexa Skill into my Cloud9 developer environment.
- Merge the Lambda code into a local git repo (in my Cloud9 terminal environment – so awesome!)
- Update my code using a super slick text editor with all the features you would expect from a fully decked out Sublime or Atom editor.
- Commit changes made to that code into my Github repo using the native Cloud9 terminal environment.
- Deploy the updated Lambda with a single click.
Deploying my updated Lambda code takes about 1 second and all I need to do is click one button.
Did AWS just make this process this easy? I mean I have to be doing something wrong here. It can’t be this easy! For a n00b! What am I missing here?
This is just the sauce that my Skill needed. Thank you AWS!


Leave a Reply
Want to join the discussion?Feel free to contribute!